

I still remember the first time I tried to make my own hot cocoa mix. It was a chilly Saturday, years ago, and I was feeling ambitious after finding a dusty old cookbook. Honestly, I didn't expect much, but the smell of cocoa and sugar filling my tiny kitchen? Magical! That first batch was a bit clumpy, oops, but the taste, oh, the taste! It was so much better than anything from a store. This homemade hot cocoa mix just brings me back to those simple, sweet moments, making even the most chaotic day feel a little brighter.
One time, I was so excited to make a big batch of this homemade hot cocoa mix for a holiday party, I completely forgot to sift the powdered sugar. The result? A few lumpy spoonfuls that made for some rather interesting, chunky sips! We all had a laugh, and I learned my lesson. Now, sifting is a non-negotiable step for a smooth, dreamy cup. Little kitchen mishaps, you know?
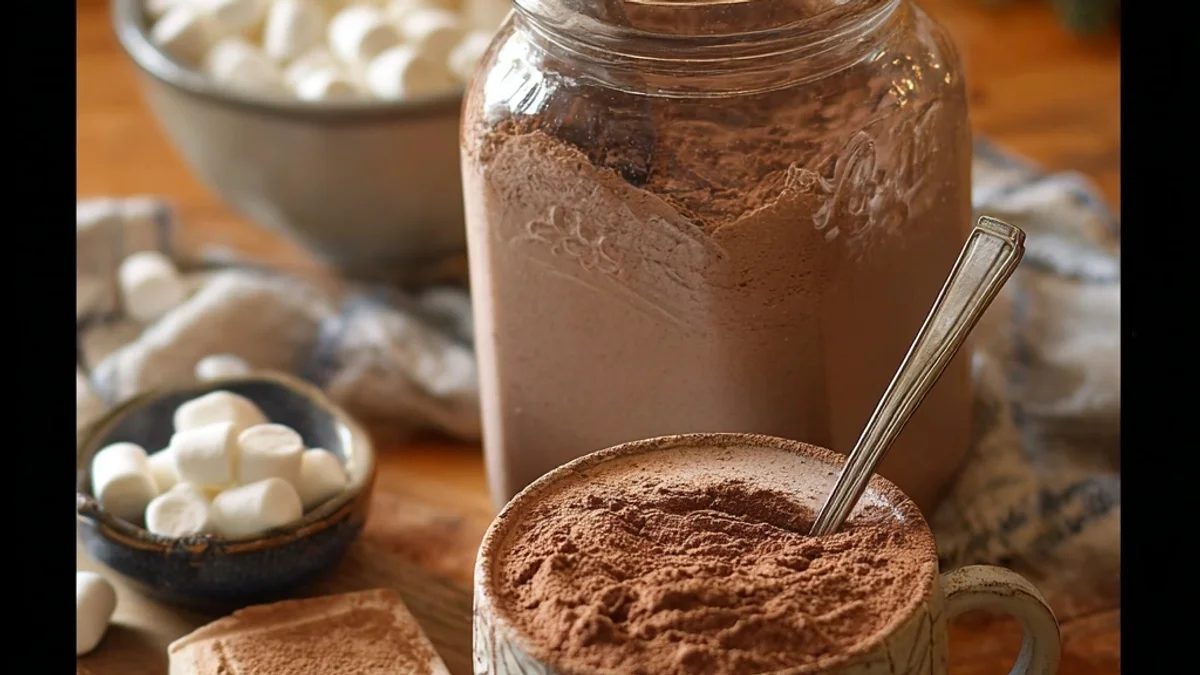
Ingredients for Your Homemade Hot Cocoa Mix
- Granulated Sugar: This is the sweet base, obviously. Don't skimp here, it balances the cocoa's bitterness. I once tried to cut it back too much, and let's just say it was a bit... intense.
- Unsweetened Cocoa Powder: Use a good quality one, please! Dutch-processed gives a darker, less acidic flavor, which I prefer. Honestly, the cheap stuff just doesn't hit the same.
- Powdered Sugar: This helps with a smoother dissolve and adds a lovely melt-in-your-mouth texture. I didn't expect it to make such a difference, but it does!
- Cornstarch: My secret weapon! Just a tiny bit makes the cocoa mix thicker and creamier when mixed with hot milk. I stumbled upon this trick by accident, and it’s a game-changer.
- Fine Sea Salt: Just a pinch! It doesn't make it salty, it actually enhances the chocolate flavor, making it richer. Trust me, every good chocolate recipe needs a little salt.
- Vanilla Powder: This adds that warm, familiar vanilla aroma and taste. If you can't find it, a good vanilla extract works when serving, but for the mix, powder is ideal. It smells so inviting when you open the jar!
- Espresso Powder: Don't worry, it won't make your cocoa taste like coffee! It just deepens and intensifies the chocolate flavor. I always add a bit more than the recipe calls for, it's my quirky preference.
- Mini Chocolate Chips: Optional, but honestly, who says no to more chocolate? They melt into little puddles of joy at the bottom of your mug. I sometimes sneak a few while mixing, oops!
- Dried Marshmallow Bits: Again, optional, but they’re just so cute and fun! They float around and give that classic hot cocoa vibe. My kids love these, and so do I, to be real.
Crafting Your Homemade Hot Cocoa Mix
- Gather & Measure Your Dry Ingredients:
- First things first, get all your ingredients out. I find it helps to have everything measured and ready before you start, especially if your kitchen tends to get a bit chaotic like mine. It just makes the whole process smoother, and you're less likely to forget something crucial, like the salt! I always double-check my cocoa powder measurement here, it's the heart of our mix, after all.
- Whisk the Base Powders Together:
- In a large bowl, combine your granulated sugar, unsweetened cocoa powder, powdered sugar, and cornstarch. Grab a good whisk and really get in there! You want to break up any lumps, especially in the cocoa. This is where I always make sure it’s super uniform, lumps now mean lumpy cocoa later, and nobody wants that. Keep whisking until it looks like one beautiful, dark brown cloud.
- Add Your Flavor Boosters to the Homemade Hot Cocoa Mix:
- Now for the magic! Stir in your fine sea salt, vanilla powder, and espresso powder. These are the unsung heroes that elevate this homemade hot cocoa mix from good to absolutely divine. Give it another good whisk to ensure everything is evenly distributed. You'll start to smell the rich chocolate aroma deepening, it's honestly one of my favorite kitchen smells.
- Sift for a Silky Smooth Homemade Hot Cocoa Mix:
- This step is non-negotiable for me now, after that one lumpy party incident! Pass the entire mixture through a fine-mesh sieve into another clean bowl. This catches any stubborn lumps and makes the final mix incredibly smooth. Gently press any larger clumps through with a spoon. It's a little extra effort, but it pays off with every creamy sip.
- Stir in Optional Extras:
- If you're using mini chocolate chips or dried marshmallow bits, this is the time to add them! Gently fold them into your now super-smooth homemade hot cocoa mix. I like to make sure they're spread throughout so every scoop gets some extra fun. This step always makes me smile, it just feels like adding a little extra joy.
- Store Your Homemade Hot Cocoa Mix:
- Carefully transfer your finished mix into airtight jars or containers. Make sure they're completely dry, or moisture will be your enemy! I love using cute mason jars if I'm gifting it. The final result should look like a rich, inviting chocolate powder, ready to transform into a warm hug. It's such a satisfying feeling to see those jars lined up!
Making this homemade hot cocoa mix always feels like a little act of love. I remember one snowy afternoon, my power went out, and all I had was a thermos of hot water and a jar of this mix. It wasn't fancy, but that warm cup of cocoa in the dim light felt like the most luxurious thing in the world. It’s those small, comforting moments that make kitchen chaos worth it.
Homemade Hot Cocoa Mix Storage Tips
So, you've made a big batch of this wonderful homemade hot cocoa mix, now what? Storage is key to keeping it fresh and ready for those sudden cocoa cravings! I usually store mine in clean, dry airtight jars mason jars work beautifully. Make sure there’s no moisture in the jar, or you’ll end up with a solid block of chocolate cement, which I've unfortunately experienced, lol. Keep it in a cool, dark pantry, away from direct sunlight or heat, which can degrade the flavors. Properly stored, your homemade hot cocoa mix should last a good 4-6 months, sometimes even longer! It’s such a lifesaver for those busy mornings or late-night dessert emergencies. I love having it on hand for last-minute gifts, too, just add a pretty ribbon!

Homemade Hot Cocoa Mix Ingredient Substitutions
Life happens, and sometimes you don't have every ingredient. I get it! For the cocoa powder, while I swear by Dutch-processed, you can use natural unsweetened cocoa, the flavor will be a bit more acidic, but still good. I tried it once when I ran out, and it worked, kinda! If you don't have vanilla powder, a tiny bit of vanilla bean paste would be amazing, or just add a splash of vanilla extract directly to your mug when you’re making the cocoa. No espresso powder? You can skip it, but your cocoa might not have that deep, rich chocolate punch. I wouldn’t recommend swapping the sugars or cornstarch though, they’re pretty essential for the right texture and sweetness in this homemade hot cocoa mix. Experiment a little, but know that these are my tried-and-true recommendations.
Serving Your Homemade Hot Cocoa Mix
This homemade hot cocoa mix is so versatile! My favorite way to serve it is with warm whole milk, honestly, don't use skim milk, just don't. The creaminess is everything. For an extra treat, top it with a mountain of whipped cream, a sprinkle of cinnamon, or even some chocolate shavings. A cozy mug of this and a good book? Yes please. It also pairs wonderfully with shortbread cookies or a slice of banana bread for an afternoon pick-me-up. For a fun twist, try adding a splash of peppermint extract to your finished cup for a minty cocoa. Or, if you're feeling adventurous, a tiny bit of chili powder for a Mexican hot chocolate vibe. It's all about making it your own!
The Backstory of My Homemade Hot Cocoa Mix
Hot cocoa, for me, isn't just a drink, it’s a connection to chilly evenings and family gatherings. Growing up, my grandmother always had a tin of "special" cocoa mix, and it felt like pure magic. It wasn’t until I was older that I realized her secret was just adding a few extra spices and good quality chocolate to her homemade hot cocoa mix. This recipe is my modern take on that nostalgic feeling, trying to capture that same warmth and comfort. It's a nod to those simple, cherished traditions and the joy of creating something delicious from scratch. Every sip brings back a flood of happy memories, and that’s why this particular mix holds such a special place in my heart.
So there you have it, my absolute favorite homemade hot cocoa mix recipe. It's more than just ingredients, it's a little bit of comfort, a dash of nostalgia, and a whole lot of love. I hope it brings as much warmth and happiness to your home as it does to mine. Honestly, it's such a simple pleasure. Don't be afraid to make it your own and share your creations with me!

Frequently Asked Questions About Homemade Hot Cocoa Mix
- → Can I make this homemade hot cocoa mix dairy-free?
Absolutely! The mix itself is dairy-free. Just use your favorite plant-based milk like almond, oat, or soy when preparing your cup. I've tried it with oat milk, and it's surprisingly creamy and delicious!
- → What’s the best cocoa powder for this homemade hot cocoa mix?
I always recommend a good quality Dutch-processed cocoa powder. It gives a darker color and a less bitter, smoother chocolate flavor. Honestly, it makes a huge difference in the final taste!
- → How do I prevent lumps when making hot cocoa from the mix?
The trick is to start with a little hot milk or water to make a paste first, then gradually add the rest of your hot liquid while whisking. That one time I skipped sifting? Lumps everywhere!
- → How long does homemade hot cocoa mix last?
Stored in an airtight container in a cool, dark place, your homemade hot cocoa mix should stay fresh for about 4-6 months. I usually make a big batch, and it always gets used up way before then!
- → Can I add other spices to this homemade hot cocoa mix?
Oh, definitely! Experimentation is encouraged! I sometimes add a pinch of cinnamon, a tiny bit of nutmeg, or even a dash of cardamom for a unique twist. Play around and find what you love!