

I remember one blustery winter evening, the power flickering, when my grandmother, bless her heart, pulled out a jar from her pantry. It wasn't just any jar, you see. It held this magical, dark powder her secret Homemade Hot Cocoa Mix. The way the scent of chocolate and vanilla wafted through the dim kitchen as she stirred it into warm milk, honestly, it felt like the world just stopped spinning. That simple mug of warmth on a cold night? It tasted like pure comfort and, well, a little bit like a hug. It’s what makes this particular mix so special to me, bringing all those warm, fuzzy memories right back.
I once tried to get fancy with this recipe, adding some obscure spices I found in the back of my cupboard. Let's just say my husband, bless his polite heart, took one sip and asked if it was 'a new kind of chai.' Oops! Sometimes, simple is truly best, and I learned that lesson the hard way. Sticking to the classics for this Homemade Hot Cocoa Mix really makes all the difference.
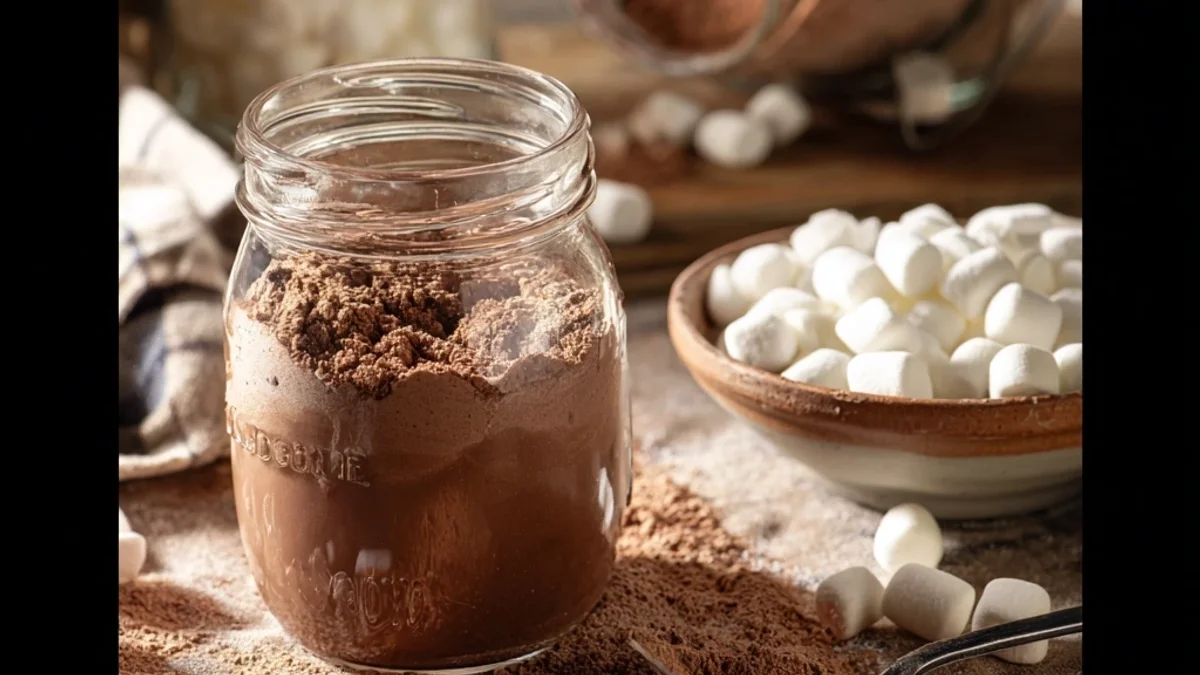
Ingredients for Homemade Hot Cocoa Mix
- Unsweetened Cocoa Powder: This is the heart of your Homemade Hot Cocoa Mix, friends! Don't skimp here, a good quality cocoa makes all the difference. I usually go for Dutch-processed because it gives a richer, darker color and a smoother flavor, but honestly, any good unsweetened cocoa will do.
- Granulated Sugar: The sweetness balance! You can adjust this to your liking, but this amount gives a lovely, balanced sweetness. I tried using less once, thinking I was being healthy, and ended up adding more to my mug anyway, so just embrace it.
- Powdered Sugar: This helps the mix dissolve beautifully, preventing any gritty texture. I didn't expect it to make such a difference, but it truly does. It's that secret ingredient for a silky smooth sip.
- Powdered Milk (full-fat recommended): This is what gives your hot cocoa that creamy, luxurious body. Seriously, don't use skim milk powder, just don't. I made that mistake once, and it just wasn't the same. Full-fat is the way to go for that rich mouthfeel.
- Fine Sea Salt: Just a tiny pinch, but it's a flavor booster! It really helps to deepen the chocolate notes and balances the sweetness. I always forget it, then add it last minute, and boom, instant improvement.
- Vanilla Powder (or extract, if adding per serving): This adds a lovely aromatic warmth. If you can find vanilla powder, it's fantastic for a dry mix. Otherwise, a splash of vanilla extract in your mug when you make it works perfectly.
- Mini Chocolate Chips or Shavings (optional): For an extra chocolatey punch! When I add these, I feel like a kid again. They melt into the hot milk, making it even more decadent. Don't worry about measuring perfectly, a handful is fine.
Instructions for Your Homemade Hot Cocoa Mix
- Gather Your Dry Ingredients:
- First things first, grab a really big bowl. I mean it, a BIG one. I always underestimate and end up with cocoa powder dust everywhere, which, while smelling amazing, is a pain to clean. Measure out your unsweetened cocoa powder, granulated sugar, powdered sugar, powdered milk, and that tiny but mighty pinch of fine sea salt. This is where the magic begins, honestly.
- Whisk It All Together:
- Now for the fun part: whisking! Use a good, sturdy whisk and really get in there. You want to break up any lumps, especially in the powdered sugar and cocoa powder. I usually do this for a good minute or two, making sure everything is evenly distributed. You'll see the color become uniform, and it'll start to smell absolutely divine. Don't rush this step, even mixing means a better cup of cocoa later.
- Add Your Vanilla Powder (if using):
- If you're using vanilla powder, now's the time to sprinkle it in. Whisk it through again until it's completely incorporated. If you're using vanilla extract, you'll add that when you prepare individual servings, so just ignore this for now. The aroma of the vanilla mixing with the chocolate is just chef's kiss, honestly! It elevates the whole Homemade Hot Cocoa Mix.
- Stir in Optional Chocolate Chips:
- If you're feeling extra, and let's be real, you usually are when making Homemade Hot Cocoa Mix, toss in those mini chocolate chips or chocolate shavings. Gently fold them in with a spoon or spatula. You don't want to crush them, just distribute them evenly throughout the mix. This step is purely for future chocolate happiness, and I am here for it!
- Transfer to an Airtight Container:
- Carefully transfer your beautiful Homemade Hot Cocoa Mix into an airtight jar or container. I usually use a wide-mouth mason jar, it just looks so much nicer. Make sure it's completely dry inside, or you'll have clumps. I once used a slightly damp jar, and let's just say it was a sad, clumpy mess. Lesson learned!
- Enjoy Your Creation:
- To make a mug of this goodness, simply scoop about 1/4 to 1/3 cup of your Homemade Hot Cocoa Mix into a mug. Pour 8-10 ounces of hot milk (dairy or non-dairy, but whole milk is my preference for creaminess!) over it. Stir well until dissolved. Top with marshmallows or whipped cream, and honestly, you're set. It should look rich, smell heavenly, and taste like pure bliss.
There's something so satisfying about seeing a jar of this Homemade Hot Cocoa Mix sitting on my counter, ready for any cold snap. It reminds me of those little moments of joy we can create in our kitchens. One time, my niece visited, and she thought it was 'magic powder.' Honestly, it kinda is. It's those small, homemade touches that really make a house feel like a home, don't you think?
Homemade Hot Cocoa Mix Storage Tips
This Homemade Hot Cocoa Mix keeps surprisingly well, which is great because I always make a big batch! I store mine in an airtight glass jar in a cool, dark pantry. It’s important that no moisture gets in, otherwise, you'll end up with a solid, unmixable block of chocolate, which I have unfortunately experienced. I microwaved it once, thinking it would break up the chunks, and it just made a sticky, molten mess so don't do that lol. Stored properly, it’s good for about 3-4 months, or even longer if it's really sealed tight. It holds up beautifully, the flavors stay potent, and the texture remains powdery. Just make sure to give the jar a good shake every now and then to keep everything from settling.

Homemade Hot Cocoa Mix Ingredient Substitutions
I've played around with a few swaps for this Homemade Hot Cocoa Mix, some more successful than others. For the powdered milk, you can use a non-dairy powdered creamer for a similar creamy effect, though the flavor profile will shift a bit. I tried almond milk powder once, and it worked... kinda, but it wasn't as rich as the full-fat dairy version. If you don't have powdered sugar, you can use all granulated sugar, but just know your mix might not dissolve quite as smoothly. For extra flavor, a pinch of espresso powder can deepen the chocolate notes without tasting like coffee, I swear it’s a game-changer! You could also add a tiny dash of cayenne pepper for a Mexican hot chocolate vibe, which is surprisingly good.
Homemade Hot Cocoa Mix Serving Suggestions
Oh, the ways to enjoy this Homemade Hot Cocoa Mix are endless! My absolute favorite is a big mug with a generous dollop of homemade whipped cream, a sprinkle of cinnamon, and maybe a tiny drizzle of caramel. Honestly, this drink and a good rom-com on a Friday night? Yes please. It pairs beautifully with shortbread cookies or a slice of a simple pound cake for dipping. For a grown-up twist, a splash of peppermint schnapps or a good quality bourbon can turn it into a delightful adult beverage. For the kids, a mountain of mini marshmallows is always a hit. It's versatile enough for any mood or occasion, whether you're alone with a book or hosting a small gathering.
Cultural Backstory of Homemade Hot Cocoa Mix
Hot cocoa, or chocolate drinks, have such a rich history, tracing back to ancient Mesoamerican civilizations where cacao was revered! While my Homemade Hot Cocoa Mix isn't quite an ancient elixir, the idea of a comforting, chocolatey beverage has spanned centuries and cultures. My personal connection began with my grandmother's pantry jar, a tradition passed down through generations in our family. It became our winter ritual, a simple act of love and warmth. This particular recipe isn't from a specific region, but it embodies that universal desire for comfort and connection, a modern take on a timeless pleasure. It’s a bit of my family’s story, now shared with you.
This Homemade Hot Cocoa Mix isn't just a recipe, it's a little jar of happiness, ready to chase away the chill. Every time I stir a mug, I think of those quiet moments, the laughter, and the simple warmth it brings. I hope it brings you as much joy as it does me. Go on, give it a try, and when you do, tell me how your version turns out!

Frequently Asked Questions About Homemade Hot Cocoa Mix
- → Can I make this Homemade Hot Cocoa Mix less sweet?
Absolutely! I often reduce the granulated sugar by a quarter cup if I know I'm adding lots of sweet toppings. Just taste it when you make a cup and adjust to your preference next time. It's all about what you like!
- → What kind of cocoa powder is best for Homemade Hot Cocoa Mix?
I personally prefer Dutch-processed cocoa powder for a darker, less acidic flavor. But honestly, any good quality unsweetened cocoa powder will work wonders. I've used both, and they both make a lovely mug.
- → How do I prevent my Homemade Hot Cocoa Mix from clumping?
The trick is making sure all your ingredients are completely dry and you store it in an airtight container. I've had clumpy disasters when humidity got in, so I learned that the hard way. A good whisking helps too!
- → How long does this Homemade Hot Cocoa Mix last?
If stored in an airtight container in a cool, dry place, your Homemade Hot Cocoa Mix should stay fresh for about 3-4 months. I’ve had batches last even longer, but the flavor is best within that timeframe.
- → Can I add other flavors to my Homemade Hot Cocoa Mix?
Oh, yes, please experiment! I've added a pinch of cinnamon or a tiny bit of espresso powder to mine. Some folks love a little nutmeg or even a hint of mint. Just start small, you can always add more!