

Introduction to Easy Pickled Okra Recipe
Pickling okra is one of those culinary joys that delivers big flavors for minimal effort. Whether you’re a pickling pro or dipping your toes into this tangy art for the first time, this easy pickled okra recipe is your ticket to crisp, zesty success. Packed with a satisfying crunch and a perfect balance of spices, it’s the snack you didn’t know you needed until now!
Why You’ll Love This Easy Pickled Okra Recipe
This recipe combines simplicity and taste in the best way possible. It’s a great way to preserve fresh produce while adding bold, briny flavors to your kitchen arsenal. Perfect for snacking, jazzing up charcuterie boards, or even garnishing your favorite cocktails, each bite offers a little taste of southern summer. Let this recipe take your taste buds for a ride!
Ingredients for Easy Pickled Okra Recipe
Essential Ingredients
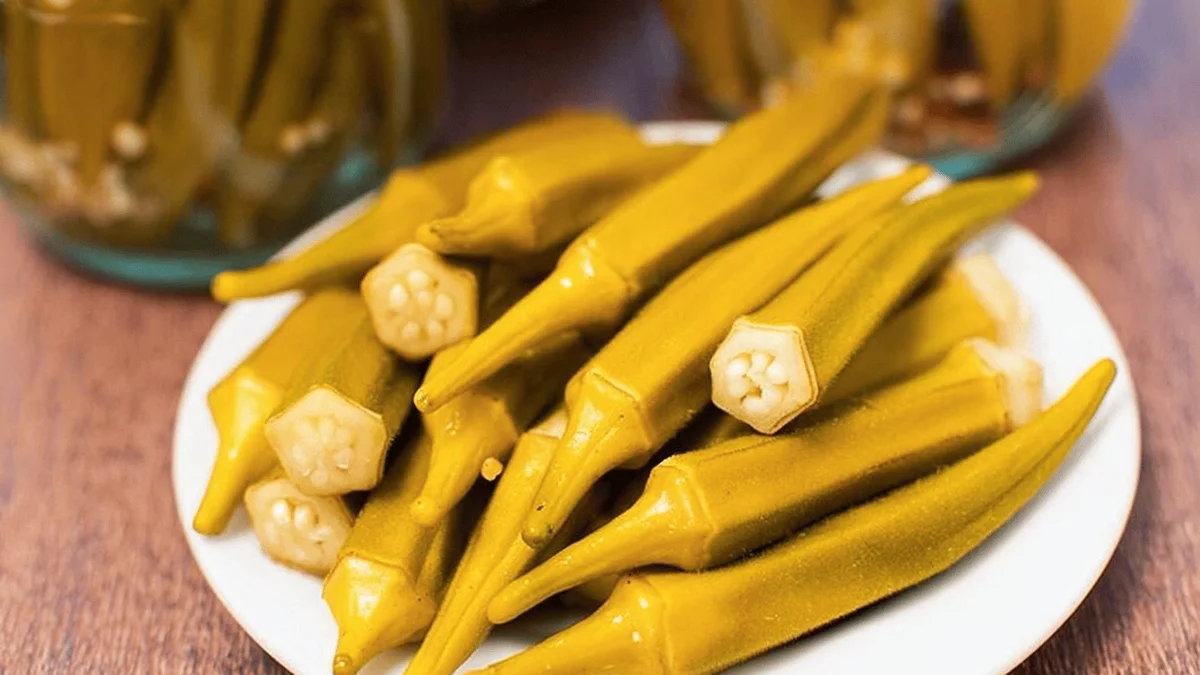
Fresh okra pods, water, vinegar, salt, spices, and the secret to the crunch a touch of sugar. Each ingredient comes together to create a balance of acidity, spice, and savory goodness.
Optional Additions or Swaps
Feeling adventurous? Add garlic cloves, dill, or even a sprinkle of red pepper flakes. If you’re out of white vinegar, try swapping it for apple cider vinegar for a subtle twist of flavor.
How to Make Easy Pickled Okra Recipe
Step 1: Prep Work Made Easy
Washing and Chopping
Start by rinsing your okra thoroughly under cold water to remove any dirt or residue. Trim the stems slightly while keeping the pods intact for a picture-perfect final product.
Measuring Ingredients
Gather your ingredients and measure them out in advance. This ensures smooth cooking and minimizes kitchen chaos.
Step 2: Cooking the Base
Sautéing for Flavor
Combine vinegar, water, salt, and sugar in a saucepan. Bring the mixture to a boil and stir occasionally to dissolve the solids. The aroma alone will make your mouth water!
Simmering to Perfection
Once the mixture is boiling, reduce the heat and let it simmer for just a few minutes. This allows the flavors to meld beautifully.
Step 3: Finishing Touches
Taste Testing and Adjustments
Before pouring, give the brine a taste. Want more spice? A little more acidity? Adjust as needed to suit your flavor preferences.
Plating Like a Pro
Pour the brine over the okra in clean jars, making sure the pods are fully submerged. Seal tightly and refrigerate to let the flavors develop brilliantly.
Tips for Perfect Easy Pickled Okra Recipe
Essential Tools for Easy Pickled Okra Recipe
Stock up on glass jars with tight-fitting lids, a saucepan, measuring cups, and a sturdy cutting board. Quality tools make all the difference!
Creative Variations of Easy Pickled Okra Recipe
Dietary-Friendly Tweaks
Looking to reduce sugar? You can try a natural sweetener like stevia or opt for a sugar-free version altogether still tangy and delicious!
Seasonal Twists
Throw in seasonal herbs such as basil or rosemary to add a touch of nature's bounty to your brine.
Serving and Pairing Ideas
Serve these pickled treats as a side to your BBQ feast, add them to a Bloody Mary for an unexpected zing, or snack on them straight out of the jar. The crunch and tang pair well with hearty meals or light appetizers alike.
Frequently Asked Questions
Can I Freeze This Dish?
Pickled okra is best refrigerated rather than frozen. Freezing can affect the texture and compromise the crunchiness.
How Do I Adjust for Dietary Restrictions?
This recipe is naturally gluten-free and vegetarian. For a low-sodium diet, reduce the salt while keeping the taste balanced with added herbs.
What If I Don’t Have [Tool]?
No measuring cups? Use a tablespoon for approximate conversions. Missing jars? Any clean, sealable container should work too.
Final Thoughts on Easy Pickled Okra Recipe
Pickling okra is more than just a recipe; it’s a little slice of comfort and creativity in your kitchen. Whether enjoyed alone or as part of a dish, these vibrant, tangy snacks are sure to impress. Grab your okra and enjoy the process you’ve got this!