

Honestly, who doesn't have a soft spot for those bright orange, cheesy squares? For me, it takes me right back to long road trips with my family, squished in the back seat, munching away. The thought of recreating that specific, sharp cheddar crunch always felt a bit daunting, like trying to bottle sunshine. But then, one rainy afternoon, I just thought, "Why not?" I didn't expect to fall head over heels for the process, or for the sheer joy of pulling a tray of golden, bubbling crackers from my own oven. This recipe isn't just about making a snack, it's about recapturing a little piece of childhood, with a grown-up, homemade touch. It’s special because it tastes like effort and love, even when it’s so ridiculously simple.
My very first attempt at homemade Cheez Its was a bit of a disaster, to be real. I got distracted by a cat video (classic me!) and rolled the dough way too thick. They came out more like cheesy shortbread than crackers delicious, yes, but not the crisp snap I was aiming for. My partner just chuckled and said, “Well, at least they’re edible!” Lesson learned: thin is in when it comes to crackers!
Crispy Homemade Cheez Its: Ingredients
- Sharp Cheddar Cheese: This is the star, hon! Don't even think about using pre-shredded stuff, it has anti-caking agents that mess with the texture. Grate a good quality, sharp cheddar yourself for that punchy, authentic homemade Cheez Its flavor.
- All-Purpose Flour: The backbone of our crackers. I've tried whole wheat once and it worked... kinda, but the texture was denser. Stick with AP for that classic crispness.
- Unsalted Butter (cold): Cold butter is critical for flaky crackers. It creates little pockets of steam as it bakes, giving you that lovely airy crunch. Don't use room temp, just don't!
- Ice Water: Another cold component! It helps keep the butter solid and prevents the dough from getting tough. I usually just throw an ice cube in a cup of water and let it sit for a minute.
- Fine Sea Salt: Essential for balancing all that cheesy goodness. A little extra sprinkle on top before baking is always a good idea, in my humble opinion.
- Garlic Powder & Paprika: My secret flavor boosters for homemade Cheez Its! Paprika adds a lovely color and a hint of warmth, while garlic powder just makes everything better. I always add a tiny bit more garlic than the recipe calls for, oops!
Baking Homemade Cheez Its: Instructions
- Mix the Dry & Grate the Cheese:
- First things first, grab a big bowl and whisk together your flour, salt, garlic powder, and paprika. Give it a good mix so everything is evenly distributed. Then, get to grating that beautiful block of sharp cheddar. I honestly love this part, the smell of fresh cheddar is just so inviting! Make sure your cheese is finely grated, it helps it melt into the dough perfectly. This is where I always get a little messy, but it’s part of the fun, right?
- Cut in the Cold Butter:
- Now for the butter. Take your super cold, unsalted butter and cut it into small cubes. Add these cubes to your flour mixture. Using your fingertips or a pastry blender, work the butter into the flour until it resembles coarse crumbs, with some pea-sized pieces remaining. This step is crucial for that signature flaky texture in your homemade Cheez Its! I've definitely overmixed here before, leading to tougher crackers, so try not to handle it too much.
- Add Ice Water Gradually:
- Next, slowly add the ice water, one tablespoon at a time. Mix until the dough just comes together. You might not need all of it, or you might need a tiny bit more it really depends on your flour and humidity. The dough should be shaggy but hold together when squeezed. Don't overwork it, seriously! Just enough to form a ball. I always feel a little thrill when the dough starts to magically come together.
- Chill the Dough:
- Form the dough into a flat disc, wrap it tightly in plastic wrap, and pop it in the fridge for at least 30 minutes. Honestly, an hour is even better! This chilling time is non-negotiable for crispy homemade Cheez Its. It lets the gluten relax and the butter firm up, making the dough easier to roll and ensuring those perfect flaky layers. I once skipped this, thinking I was clever, and my dough was a sticky, crumbly mess!
- Roll it Thin, Thin, Thin!:
- Preheat your oven to 375°F (190°C) and line a baking sheet with parchment paper. On a lightly floured surface, roll out your chilled dough as thin as you possibly can we're talking about 1/16 to 1/8 inch thick. This is where a ruler can be your best friend if you're like me and struggle with evenness. I always end up with one side thinner than the other, but it all bakes out!
- Cut, Prick, & Bake Your Homemade Cheez Its:
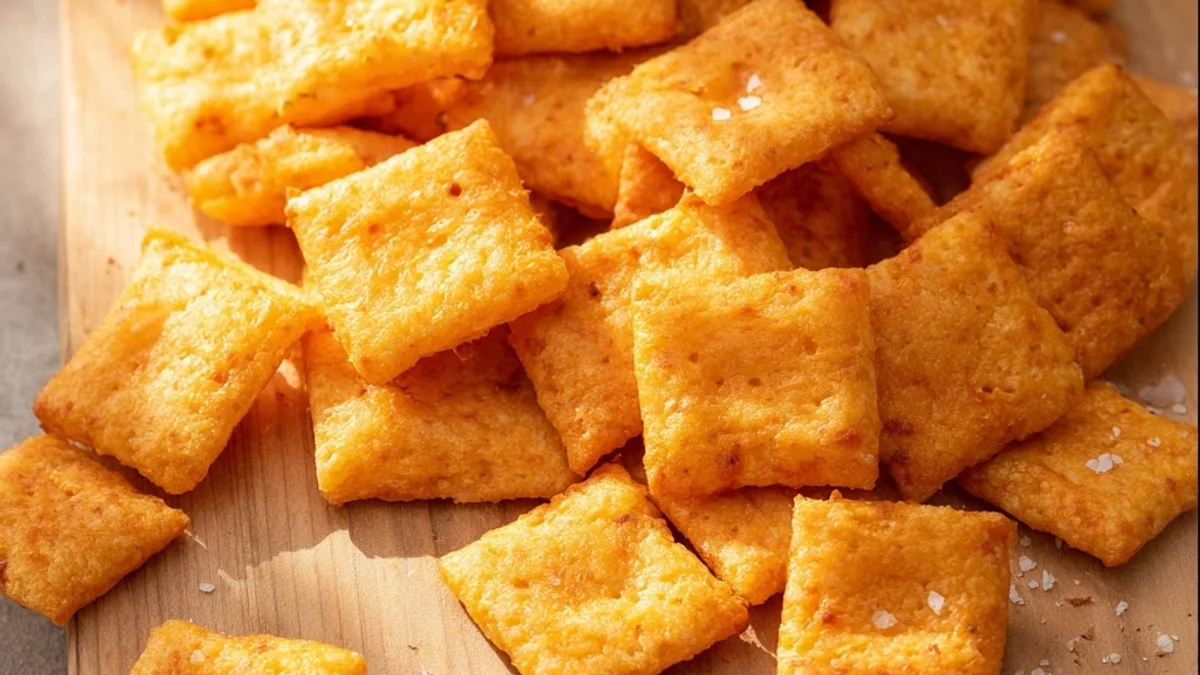
- Using a pizza cutter or a sharp knife, cut the dough into small, roughly 1-inch squares. For that iconic look, use a toothpick or skewer to prick a small hole in the center of each square. Carefully transfer them to your prepared baking sheet, leaving a little space between each. Bake for 12-15 minutes, or until golden brown and super crispy. The smell filling your kitchen is just incredible! Let them cool on the sheet for a few minutes, they crisp up even more as they cool. Enjoy your homemade Cheez Its!
There's something incredibly satisfying about making something from scratch that you usually buy from a box. The first time I bit into a perfectly crisp homemade Cheez It, still warm from the oven, I swear a little tear came to my eye. It tasted like home, like effort, and honestly, like pure joy. My kitchen was a bit of a flour-dusted war zone, but the reward was so worth it.
Storing Homemade Cheez Its
Okay, so you've made a glorious batch of homemade Cheez Its. Now, how to keep them fresh? From my experience, these little guys are best enjoyed within a few days. The key is an airtight container. I usually let them cool completely on a wire rack and I mean completely before transferring them. I once put them in a container while they were still a little warm, and they got soft and sad overnight. Don't do that lol! If they do lose a bit of their crispness after a day or two, you can usually pop them back into a warm oven (around 250°F or 120°C) for 5-10 minutes to revive them. Just keep an eye on them so they don't burn. They rarely last long enough in my house to even worry about storage, honestly!

Homemade Cheez Its: Ingredient Substitutions
I've played around with a few substitutions for homemade Cheez Its, and here's what I've found. For the cheese, a sharp cheddar is really what gives you that iconic flavor, but I've tried half cheddar and half grated Parmesan, and that was pretty good too, giving it a saltier, nuttier note. I even tried a smoked cheddar once, and it worked... kinda, but it was a bit overwhelming. If you want to experiment with flour, you could swap out a quarter of the all-purpose flour for whole wheat flour, but be warned, the crackers will be denser and a little less delicate. For the spices, feel free to play! A pinch of cayenne pepper adds a nice kick if you like a bit of heat, or even some onion powder if you're a fan. Just remember, each swap changes the final taste and texture, so embrace the adventure!
Serving Homemade Cheez Its
These homemade Cheez Its are pretty versatile, and honestly, they're fantastic all on their own. But if you're looking to get fancy, I've got some ideas! They’re absolutely divine dipped in a creamy tomato soup on a chilly evening talk about comfort heaven. I also love them crumbled over a simple green salad for an extra cheesy crunch. For a snack board, pile them next to some fresh fruit, a dollop of fig jam, and a soft cheese. And for a truly cozy night in, I swear by pairing them with a glass of crisp white wine and a good rom-com. It’s a simple pleasure, but it just hits different when you know you made them yourself.
Homemade Cheez Its: Cultural Backstory
While my homemade Cheez Its don't have a deep, ancient cultural history, the original Cheez-It cracker certainly does! First introduced in 1921 by the Green & Green Company in Dayton, Ohio, these little squares quickly became a staple in American pantries. The idea was simple: a small, square cracker with a distinct cheesy flavor. For me, the cultural backstory isn't about the company, but about the nostalgia. It's about how a simple snack can evoke so many memories of childhood, family gatherings, and lazy afternoons. Recreating these at home is my own personal connection to that widespread cultural phenomenon, bringing a bit of that familiar comfort and joy into my own kitchen, with a personal, fresh twist.
Making these homemade Cheez Its has become one of my favorite kitchen rituals. There's something so rewarding about seeing those little squares puff up and turn golden, knowing I created that cheesy magic. They might not be perfectly uniform, and sometimes a few get a little too toasty around the edges, but that's the beauty of homemade, right? I hope you give them a try and share your own kitchen chaos moments with me!

Frequently Asked Questions
- → Why are my homemade Cheez Its not crispy enough?
Honestly, this usually comes down to rolling the dough too thick or not baking them long enough! Make sure your dough is almost paper-thin, and let them get really golden in the oven. I've had many soft batches myself!
- → Can I use pre-shredded cheese for these crackers?
You can, but I wouldn't recommend it, to be real. Pre-shredded cheese has anti-caking agents that can make the crackers less tender and less cheesy. Freshly grated sharp cheddar makes all the difference, trust me!
- → How do I get those perfect little square shapes?
My best trick is using a pizza cutter! It makes quick work of cutting the dough into squares. For extra perfection, you can use a ruler as a guide. Don't worry if they're not all identical, mine never are!
- → How long do homemade Cheez Its stay fresh?
In my experience, they're best within 2-3 days when stored in an airtight container at room temperature. They tend to lose their crispness after that, but a quick refresh in the oven can sometimes help!
- → Can I add other seasonings to my homemade Cheez Its?
Absolutely! I've experimented with a pinch of cayenne for spice, or even a dash of onion powder. Feel free to play around with your favorite spices! Just remember, a little goes a long way.